| | My rustoration project |  |
|
|
| Author | Message |
|---|
tonis56
Admin

Posts : 22
Join date : 2013-09-29
Age : 37
Location : Stoughotn
 | Subject: My rustoration project  Sun Nov 09, 2014 5:55 pm Sun Nov 09, 2014 5:55 pm | |
| A little back story on the car can be found here http://www.wi240sx.com/t1355-back-in-the-gameI will be updating this thread as the project continues. Last winter I spent most of my time repairing the suspension. Replacing ball joints, tie rods, bushings, rebuilding the steering rack and the list goes on. This winter is all about rust. Back in 2010 when I first sold the car I knew of some rust on the car. Fast forward to September 2013 when I got the car back there was considerably more. After getting over my buyers remorse, I realized that the rust would have to be fixed one day. So here we are. I spent the summer and early fall of 2014 getting my garage ready for the cold by installing insulation, drywall and even a new window. I also have a neighbor that is kind enough to let me borrow his mig welder over the winter which saved me hundreds of $. I will be using a Hobart Handler 135 Mig welder with .030 wire and C25 for shielding gas. I chose solid wire over flux core for obvious reasons. Flux core is much dirtier and creates a ton of spatter. Also in my experience it tends to weld a bit hotter causing thinner panels to warp. The project began a few weeks ago with stripping the car down to its bare shell. I pulled the motor which is in need of some tlc as well. Here is the welder that will be providing all that molten metal. 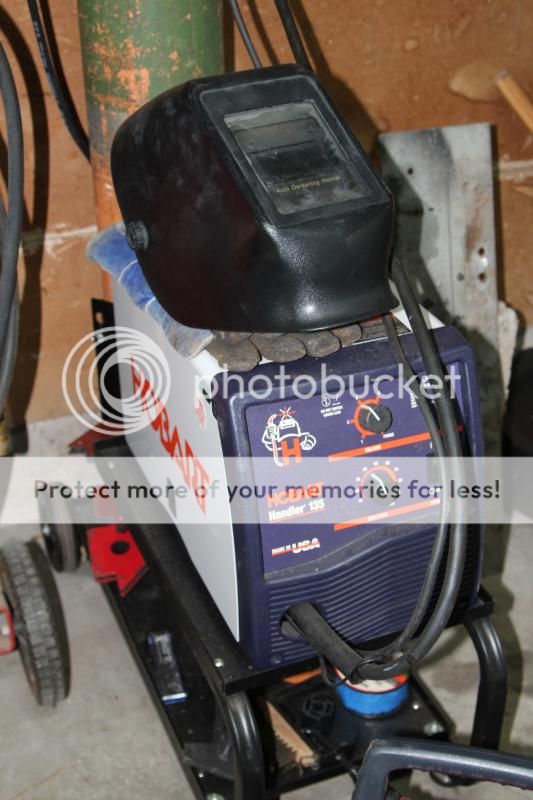 Spot weld cutter is a must for a project like this. 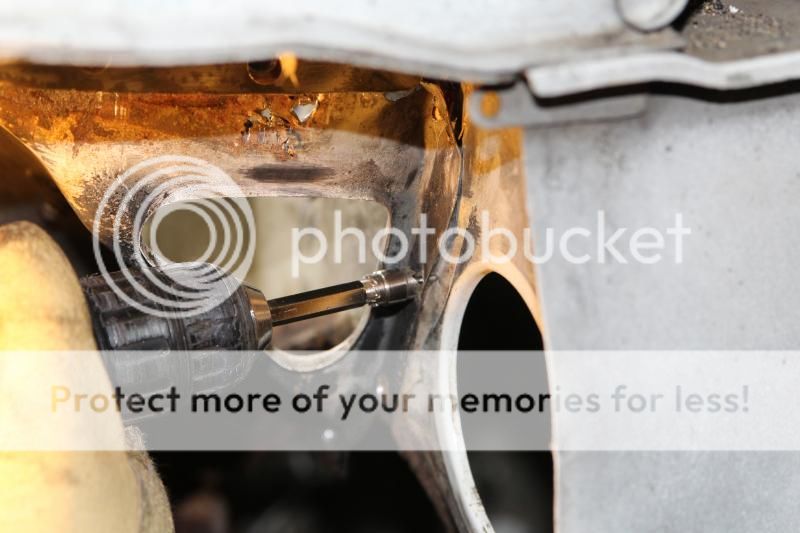 A couple practice welds, wanted to brush up on my butt welding. 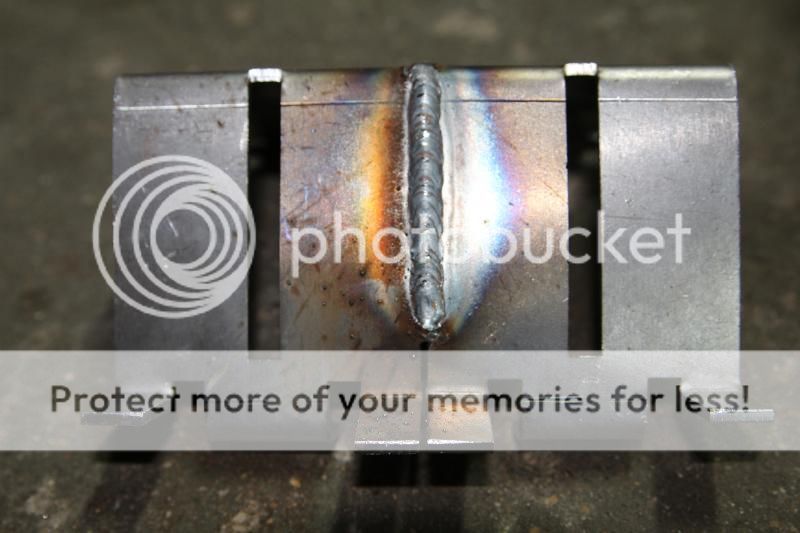 Good penetration on that weld. 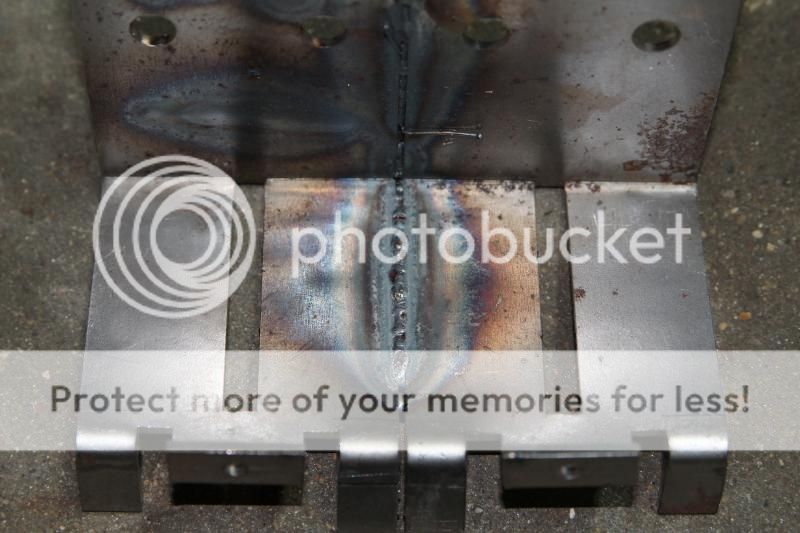 Here are a couple of lap welds along with a few plug welds. 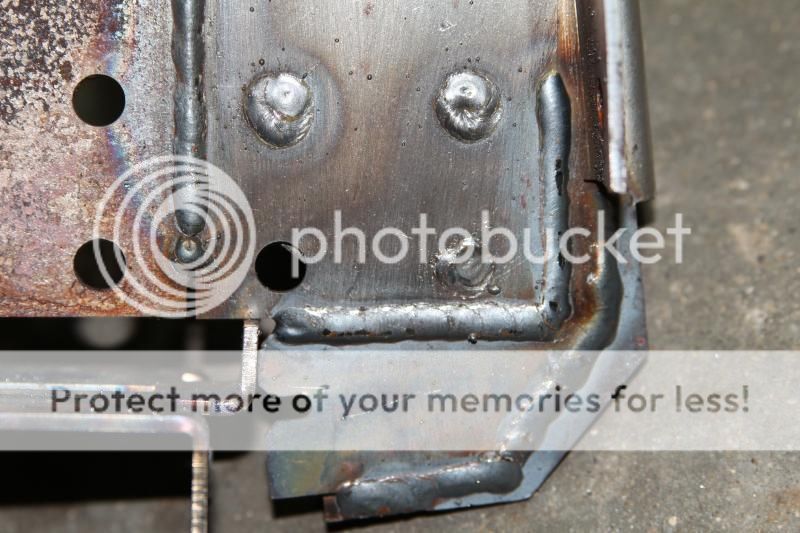 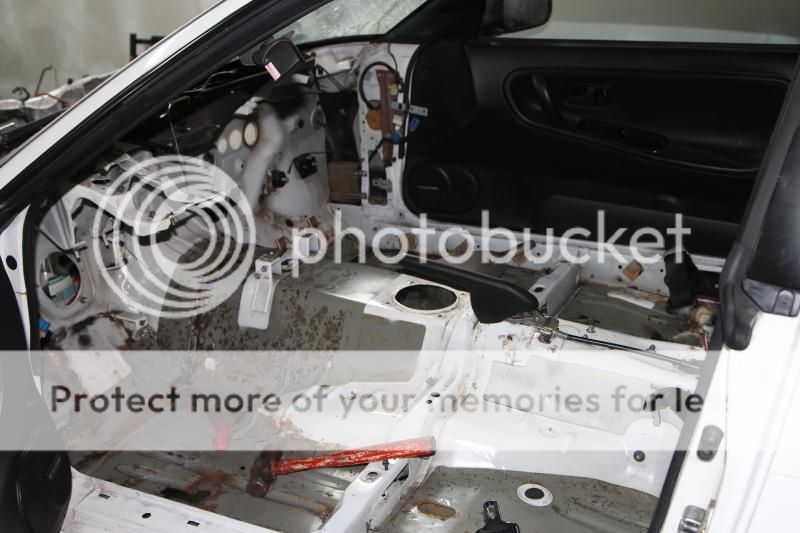 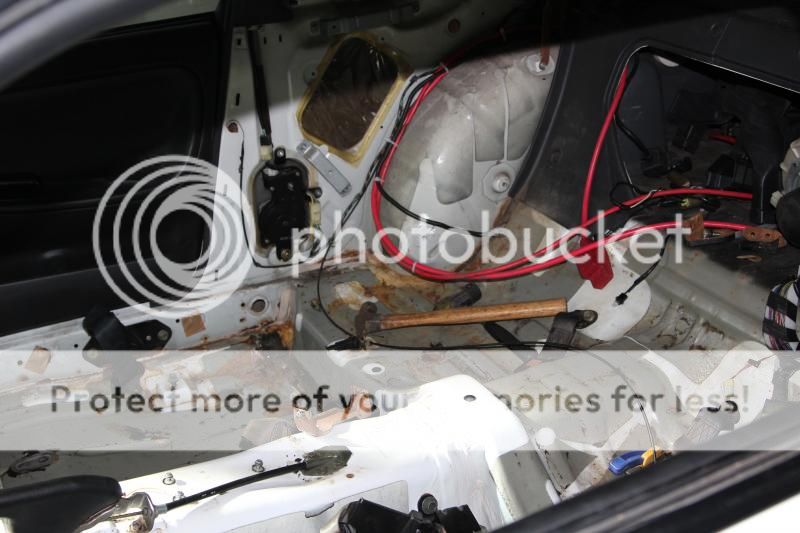 Divers side floor pan.  I then began to remove pieces that were rusted and that needed to be patched or replaced. 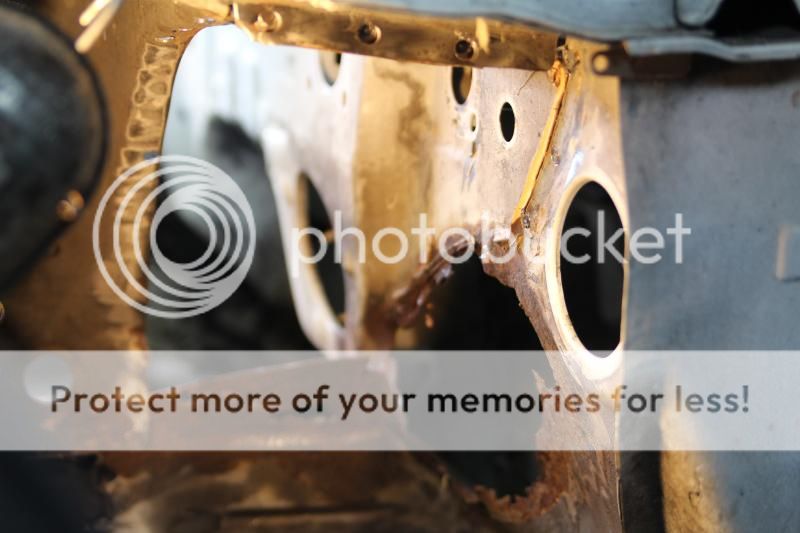 You can see where the clutch master must have been leaking at some point to cause all this corrosion. 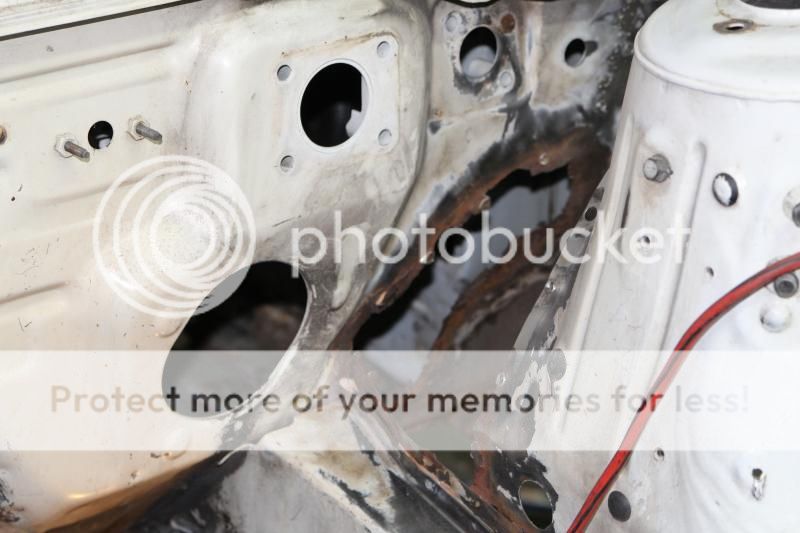 Removing the rusted frame rail. 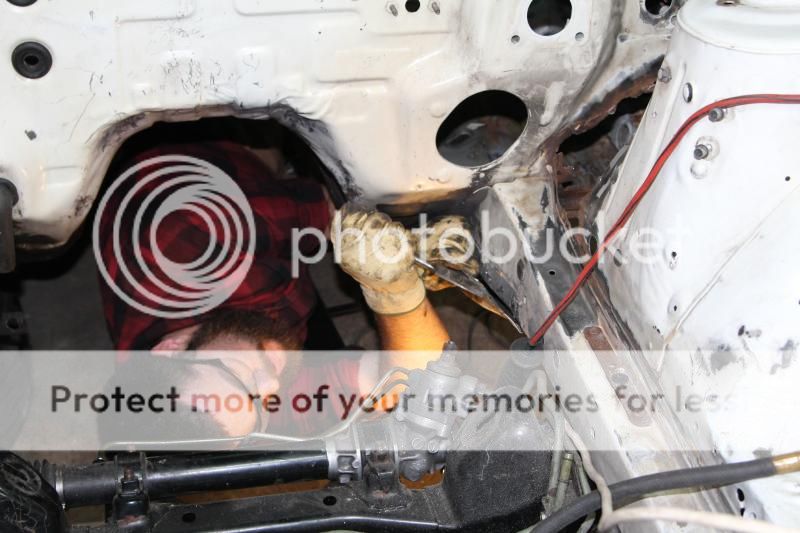 Pretty badly rusted. 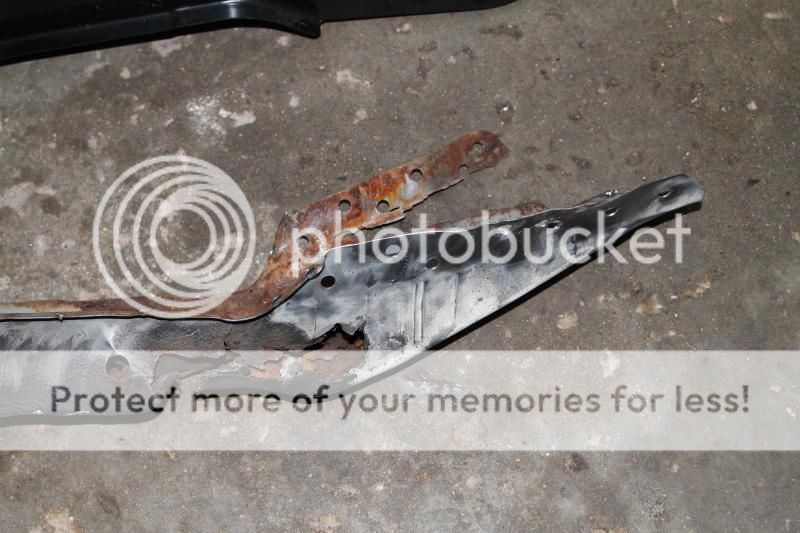 Replacing it with the one on the top. 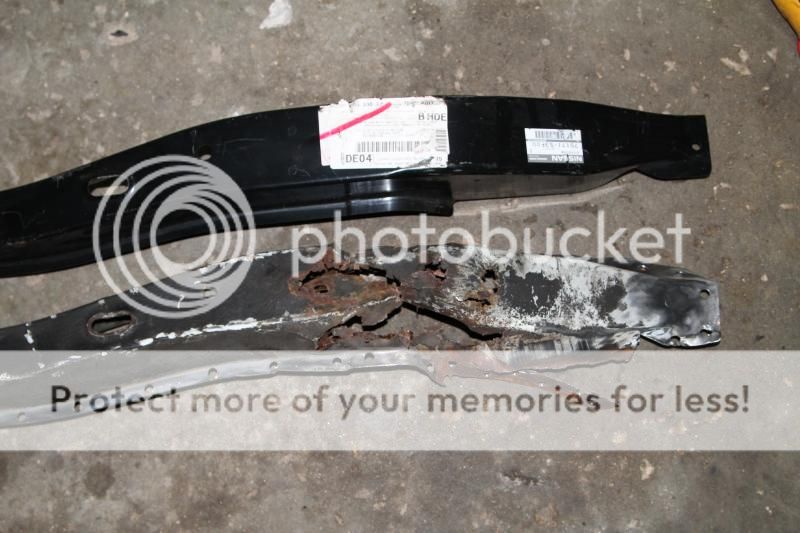 Here is a view with out the frame rail. You can see the spotwelds that held it in place. 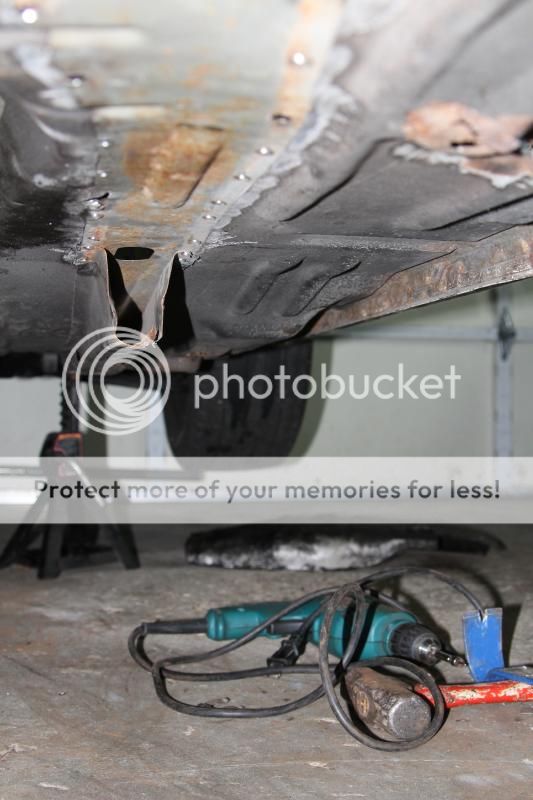 I also did a little strut tower work on the drivers side. 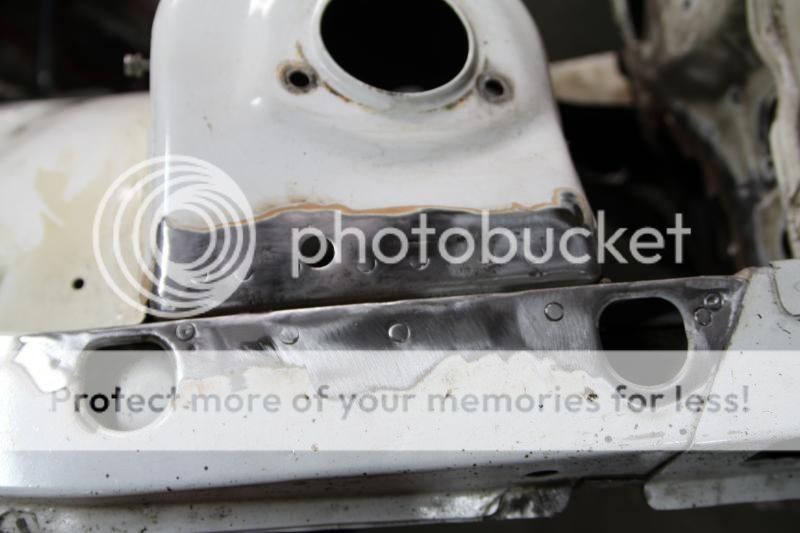 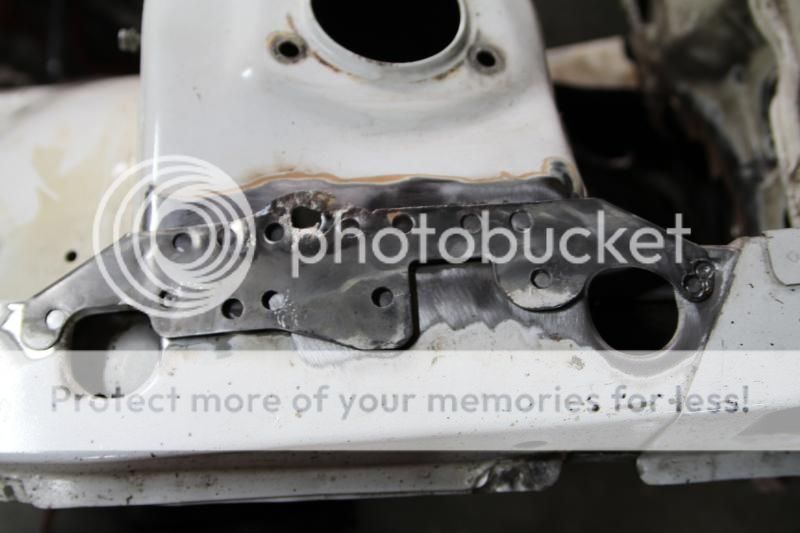 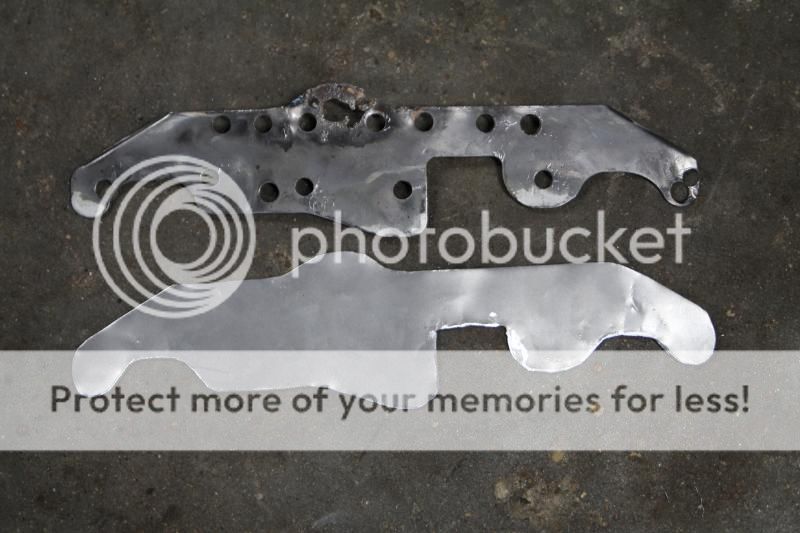
Last edited by tonis56 on Sun Nov 09, 2014 6:23 pm; edited 2 times in total | |
|
 | |
tonis56
Admin
Posts : 22
Join date : 2013-09-29
Age : 37
Location : Stoughotn
| | Subject: Re: My rustoration project Sun Nov 09, 2014 5:56 pm | |
| This week I began working on the floor pan rust. I found out how difficult butt welding 22ga sheet metal really is. The technique is mostly tack welding. Not welding in the same place for very long helps keep down warping. I have found that a tack weld of no more than 2 seconds will do the trick. I began to cut out the rusted sections. I made sure to cut out enough to ensure all of the rust was removed. 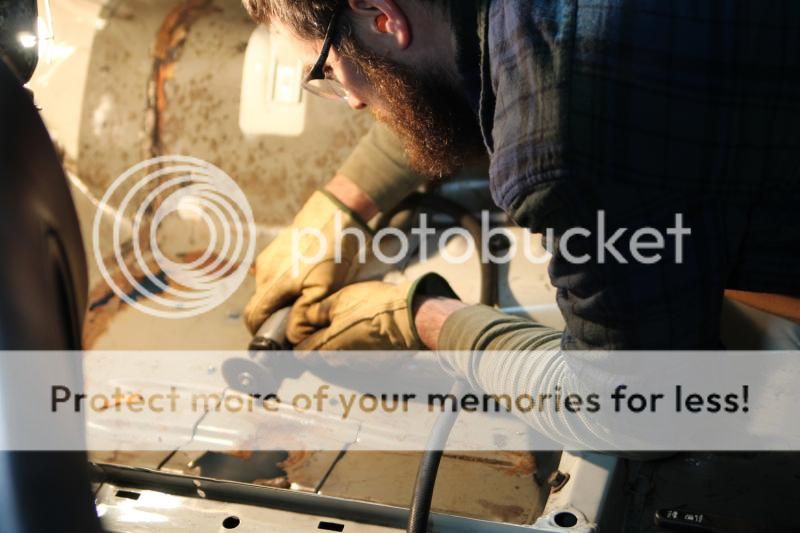 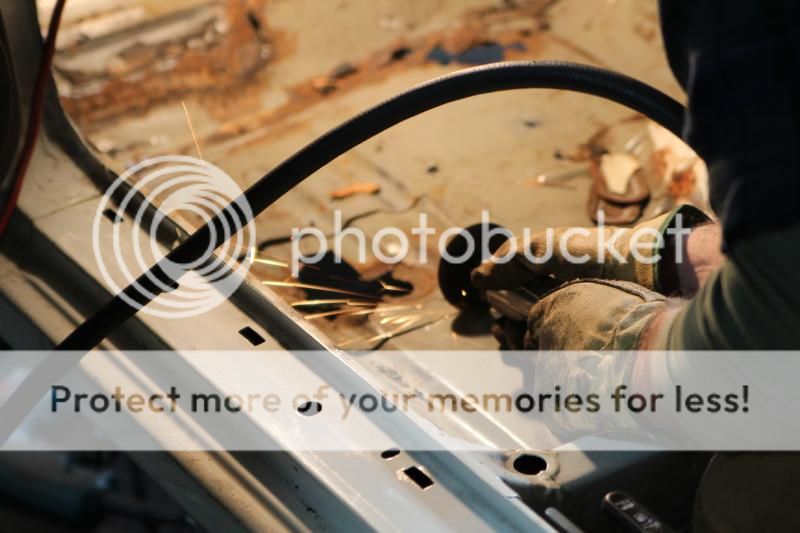 After cutting 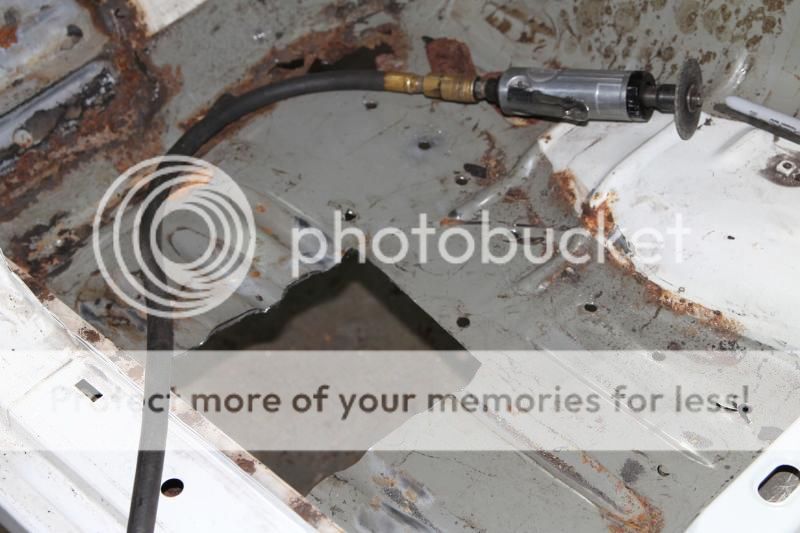 Rusted vs New 22 ga sheet 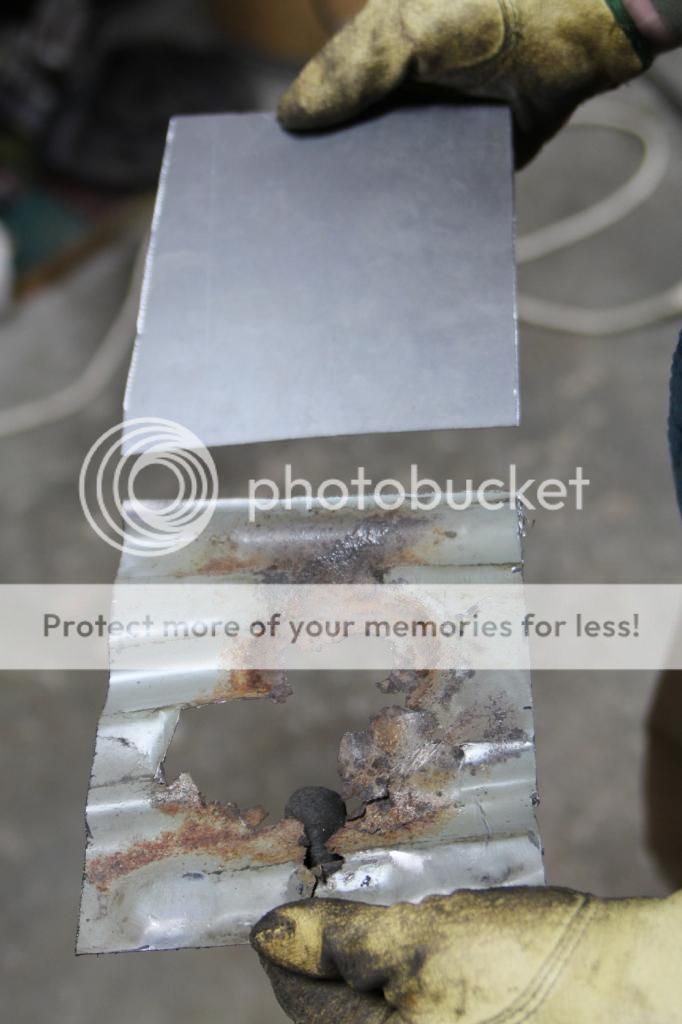 I quickly learned how difficult butt welding 22ga sheet metal is. Lots of burn through. 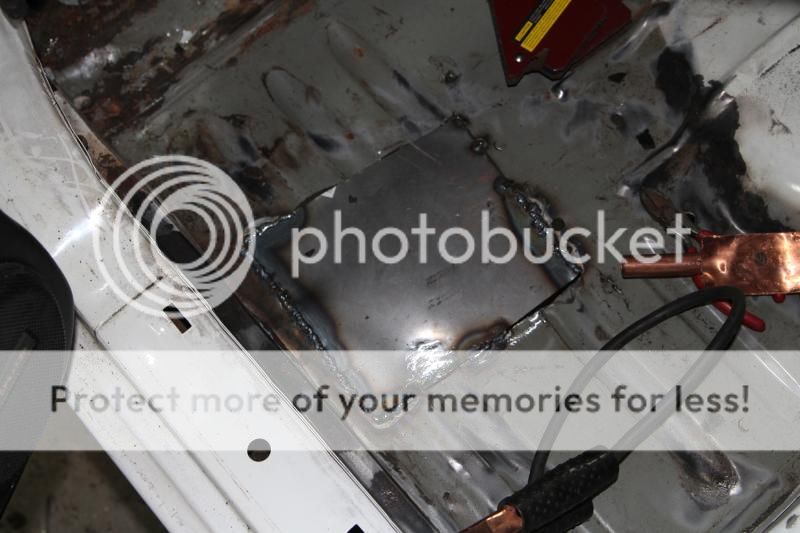 Almost done grinding the welds down. 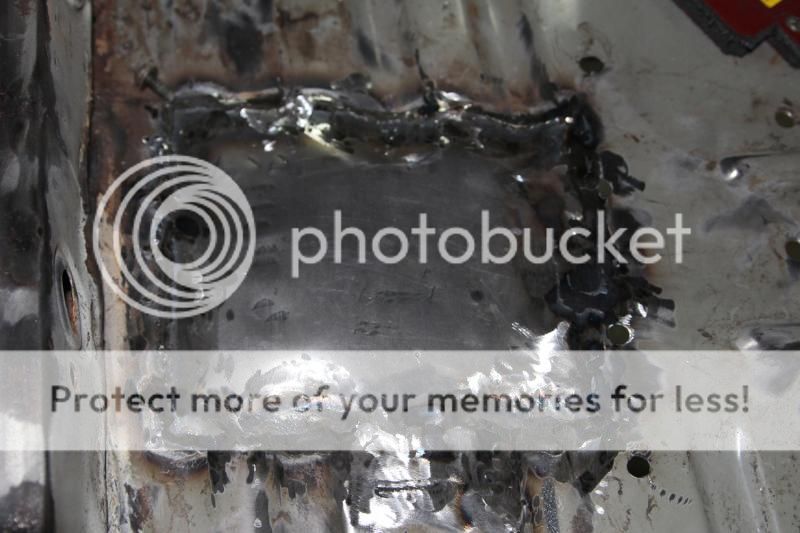 Moving on to the next rusted area. In this picture I am removing the surface rust from that piece. This piece is what the frame rail and the floor are welded to. I will be spraying this with weld thru primer before welding. 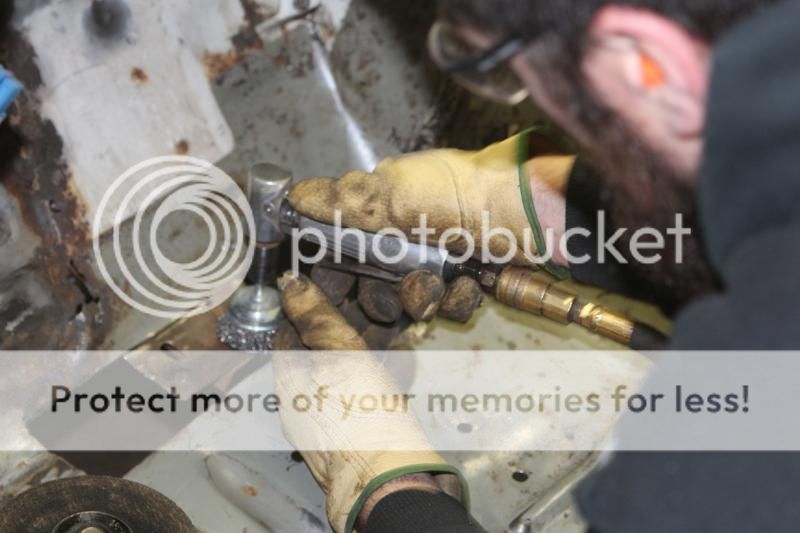 New panel shown for fitment. It takes a lot of practice to get the right gap between the metal all the way around. If the gap is too much then you will be dealing with your weld puddle falling through. 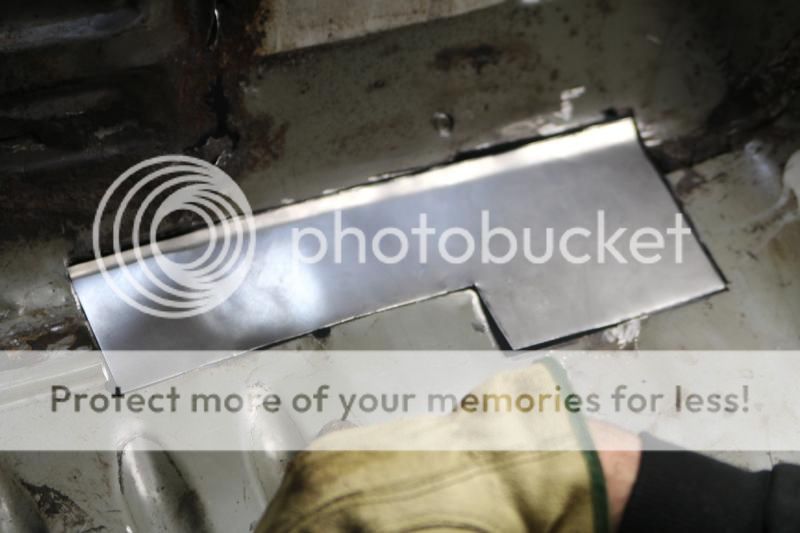 After that I started to clean up lots of things and remove more rusted paneling. 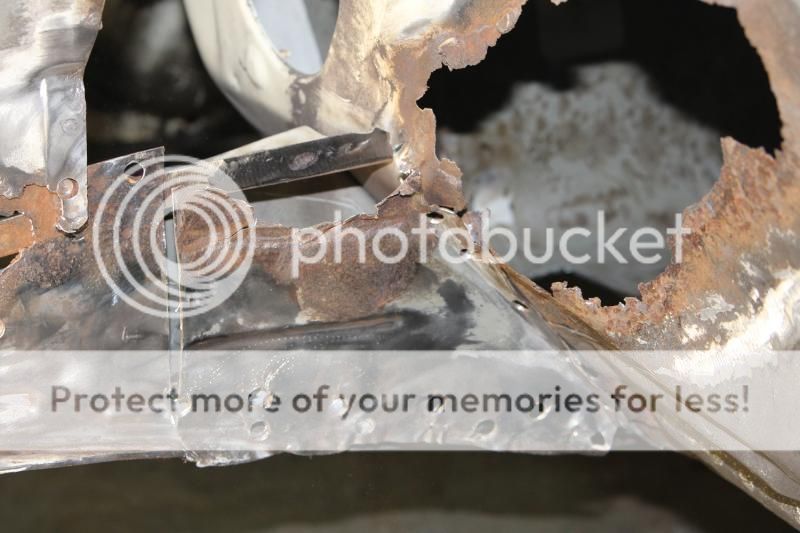 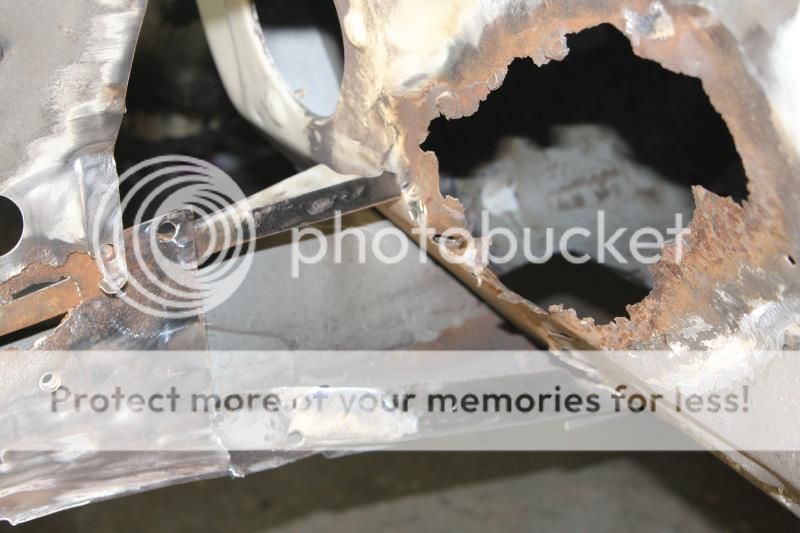
Last edited by tonis56 on Sun Nov 16, 2014 1:17 pm; edited 2 times in total | |
|
| | |
tonis56
Admin
Posts : 22
Join date : 2013-09-29
Age : 37
Location : Stoughotn
| | Subject: Re: My rustoration project Sun Nov 09, 2014 5:56 pm | |
| Week 3 update This week again consisted of removing rusted parts of the floor pan. I also decided that i was not happy with my first attempt at welding the larger hole in the floor pan. Earlier this week I fashioned a new panel to go in its place. I also attempted to mimic the bead in that runs down the length of the floor pan. I used a hammer and dolly to make those beads as I do not have a bead roller which would have made this much easier. I also managed to cut the rusted sections of the firewall. I bought some new oem panels that will replace a few damaged panels on the car. More on these later. On to the pictures. I began SLOWLY stitch welding the new panel in. These are butt welds, so things have to be set up correctly with the welder and there is lots of prep work before you can weld. I spent over an hour getting this panel to fit perfectly. 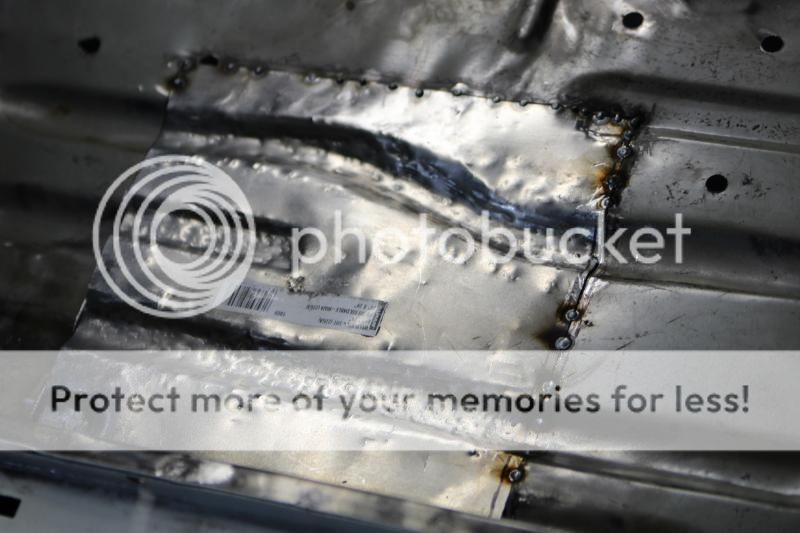 Lots of hammering and dollying (is dollying even a word?). 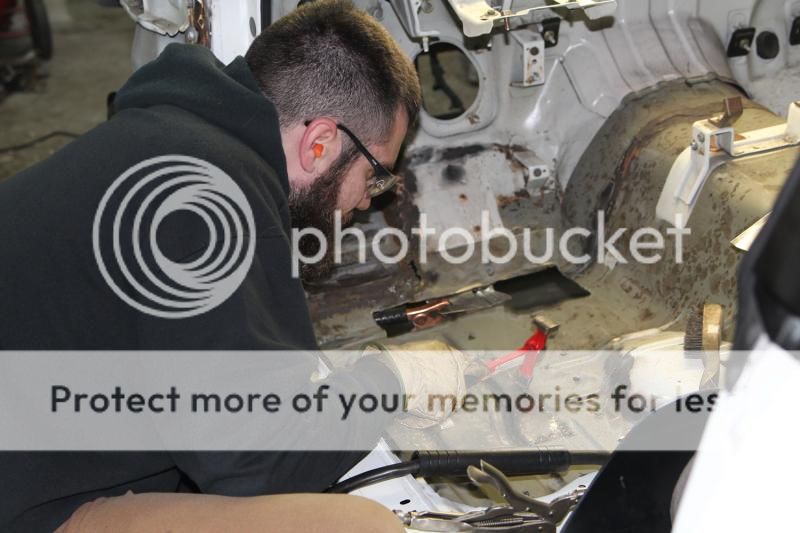 I am not wearing my welding mask initially to get my first few tacks in the right place. I am however closing my eyes, even then its still pretty bright. 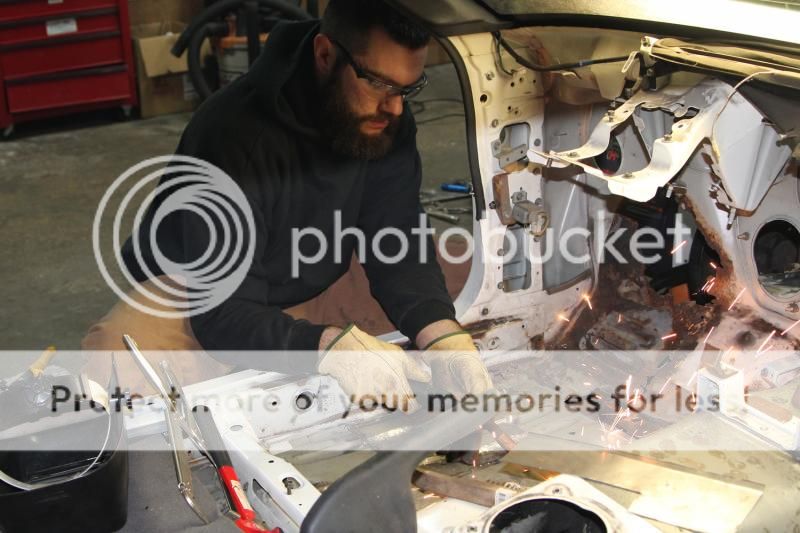 There she sits until spring. Got some work to do on the engine too 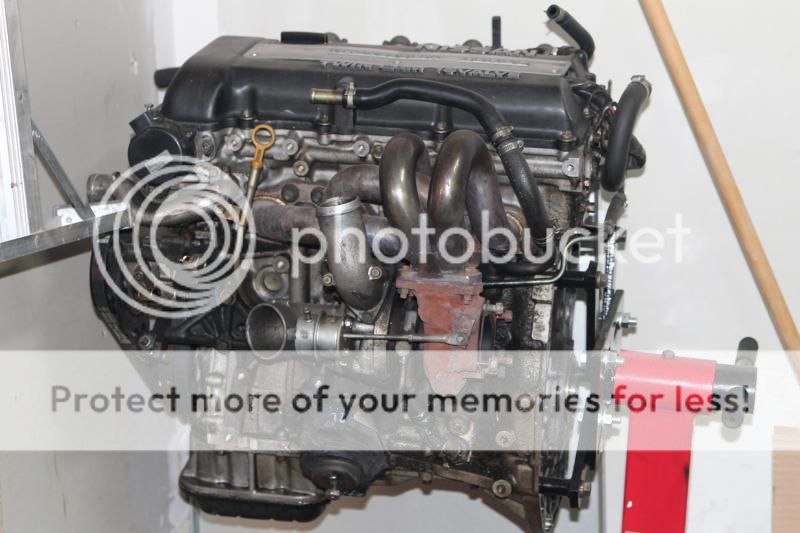 I continued trimming and hammering things to fit correctly. 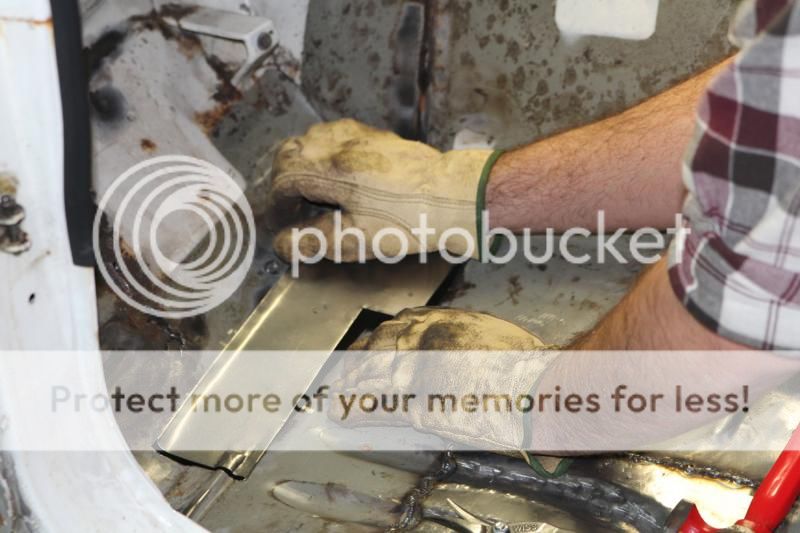 The piece in the picture above sits on this part that is welded to the frame rail and the floor pan. I sprayed this with a weld thru primer. The primer has zinc in it and once it is heated it will flow in to the weld. This ensures that the metal is sealed from the elements. 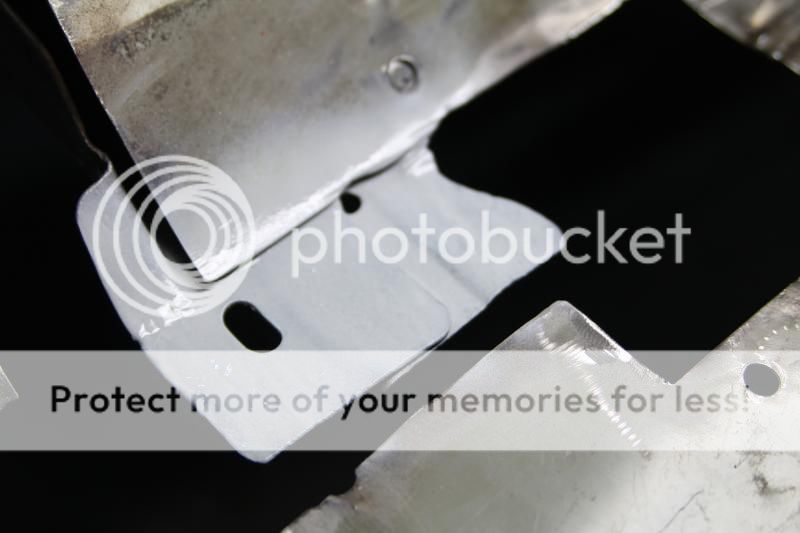 I also sprayed the piece of sheet metal with the weld thru primer. 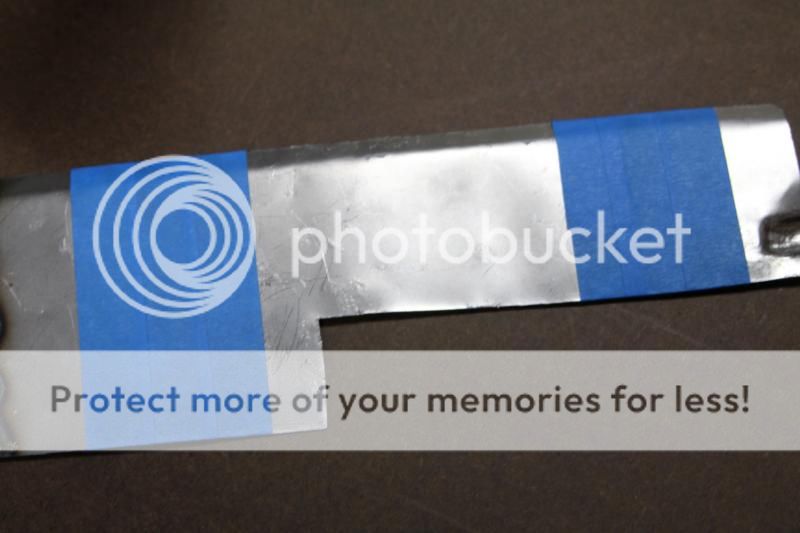  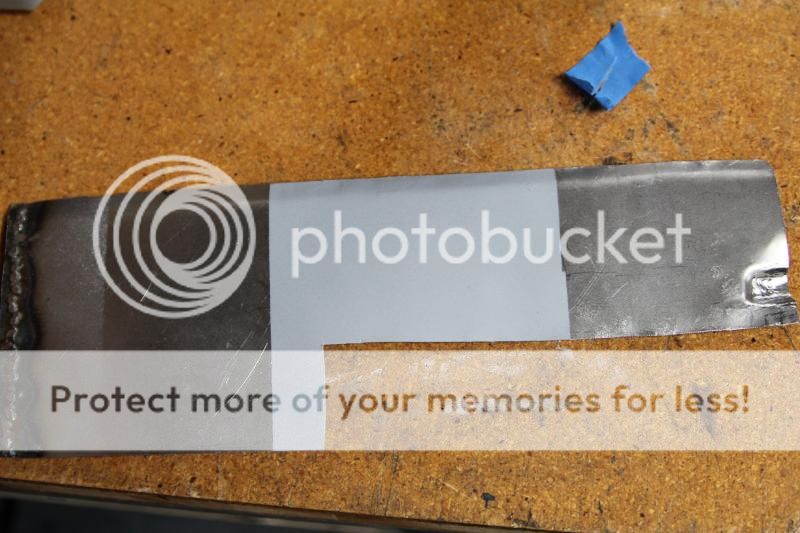 Here is a photo of the weld thru primer and a can of internal frame coating. This is exactly what it sounds like. Just extra protection for boxed in pieces of the frame. Eastwood sure has some cool stuff that makes projects like these much easier. 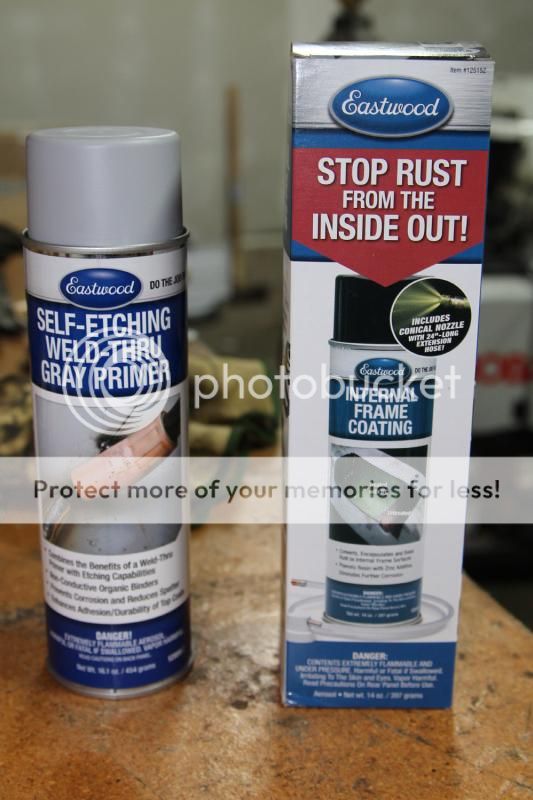 More of the rust cut out from the firewall.  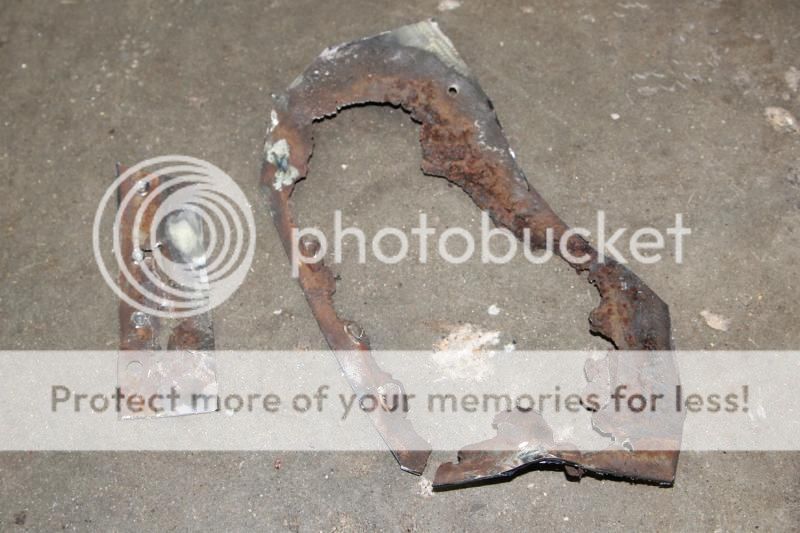
Last edited by tonis56 on Sat Nov 22, 2014 7:53 pm; edited 1 time in total | |
|
| | |
tonis56
Admin
Posts : 22
Join date : 2013-09-29
Age : 37
Location : Stoughotn
| | Subject: Re: My rustoration project Sun Nov 09, 2014 5:56 pm | |
| Week 4 Update This week I completely removed all of the front suspension including the front subframe. I also bought a few frame panels from another member on zilvia.net. I bought the outer frame rail covers for both drivers and passenger side and also the passenger side upper hood ledge. The hood ledge was bent up and is full of body filler, someone must have bumped into something with the car before I got it back. I started by removing the old rusted front outer frame rail cover. I was left with this after removal. I spent some time cleaning it up and removing surface rust as I will be using the eastwood inner frame coating in here. 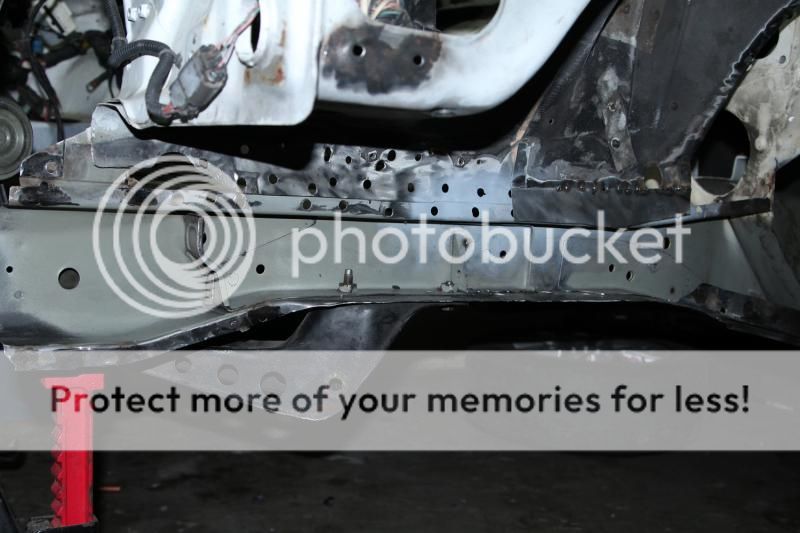 Here is what the new one looks like in place. 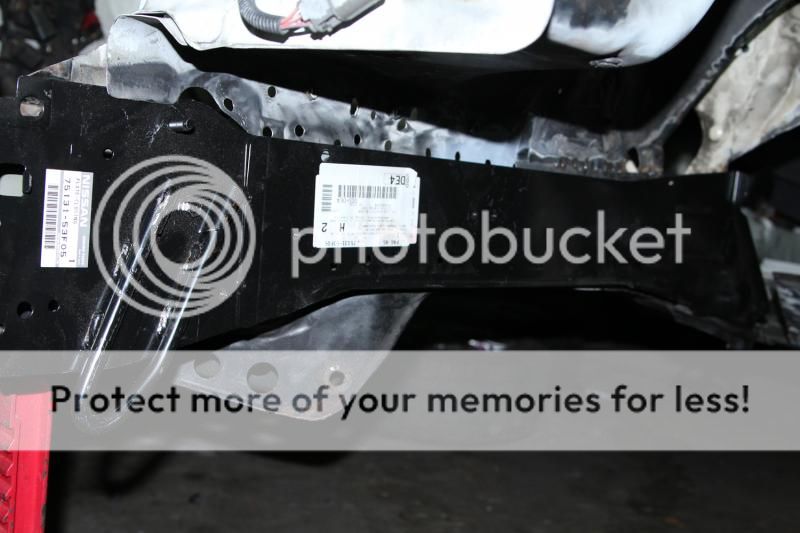 I also spent some time welding in a couple panels. I welded in the L shaped panel that is in the previous post. 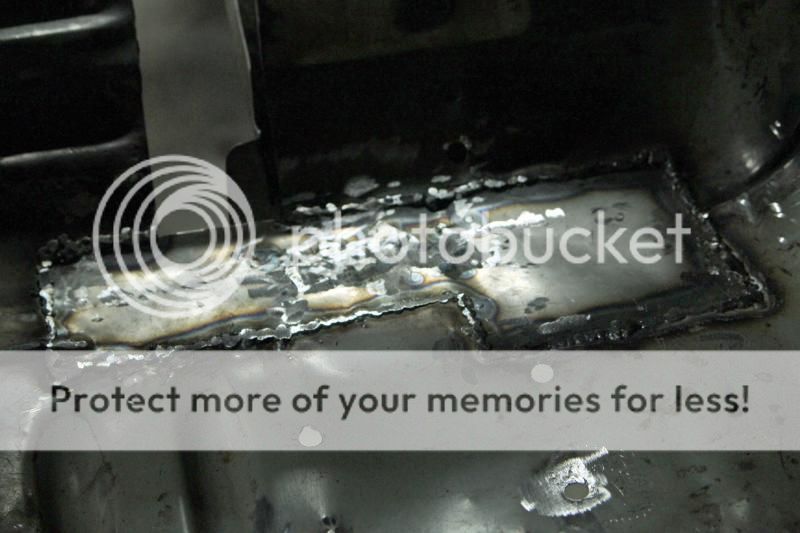 Also cut out some rust and began to tack in a new piece .This picture was taken from the back side. 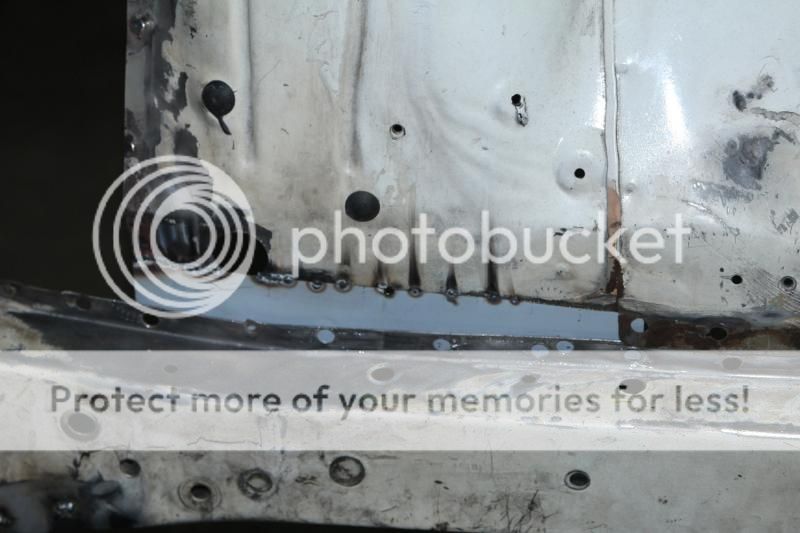 Here is a picture of the hood ledge that is messed up. Having this bent up makes my fender sit lower and causes a gap between the hood and the fender. 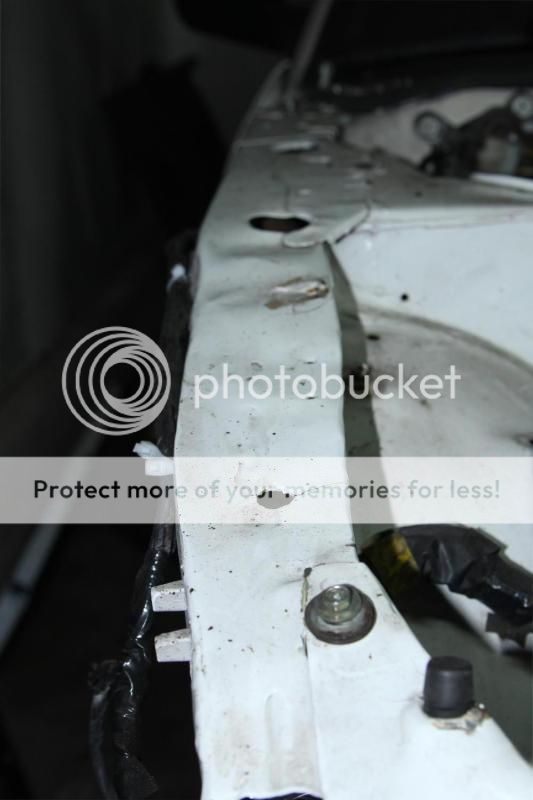 Here is a picture of all the parts. The hood ledge is on the bottom. 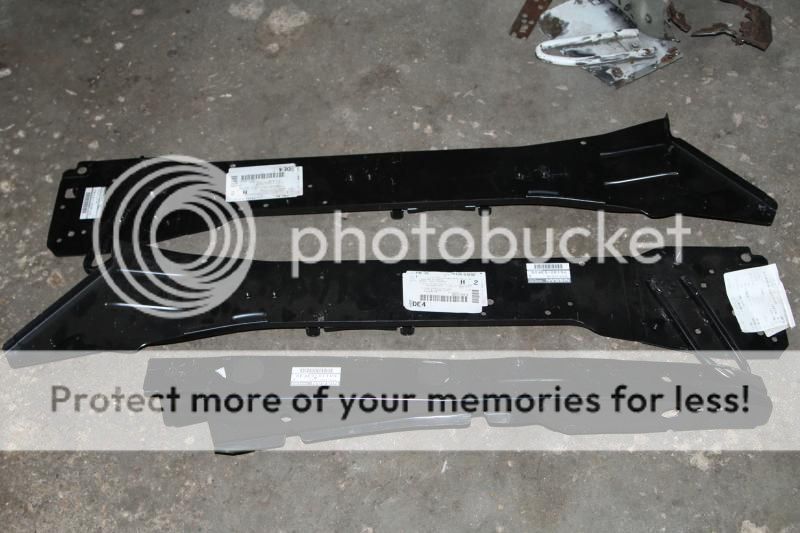 Thanks for reading.
Last edited by tonis56 on Sun Nov 30, 2014 8:02 pm; edited 1 time in total | |
|
| | |
600SX
Admin

Posts : 2514
Join date : 2010-08-19
Age : 43
Location : Twin Lakes
| | Subject: Re: My rustoration project Sun Nov 09, 2014 5:59 pm | |
| | |
|
| | |
mrsparkle
Member

Posts : 134
Join date : 2012-03-09
Location : HARVARD , IL 60033
| | Subject: Re: My rustoration project Sun Nov 09, 2014 9:17 pm | |
| Thats a lot of dedication , good work man! | |
|
| | |
tonis56
Admin
Posts : 22
Join date : 2013-09-29
Age : 37
Location : Stoughotn
| | Subject: Re: My rustoration project Mon Nov 10, 2014 12:00 pm | |
| Thanks guys. I will be updating periodically. Having a 4 month old takes up lots of time!
| |
|
| | |
600SX
Admin
Posts : 2514
Join date : 2010-08-19
Age : 43
Location : Twin Lakes
| | Subject: Re: My rustoration project Mon Nov 10, 2014 3:14 pm | |
| I can only imagine. I only have my first on the way, and I still don't have time to mess with my shitbox. | |
|
| | |
tonis56
Admin
Posts : 22
Join date : 2013-09-29
Age : 37
Location : Stoughotn
| | Subject: Re: My rustoration project Mon Nov 10, 2014 5:09 pm | |
| Congrats. It's great, all of the craziness is worth it. Really no feeling like it. I was one of those guys a year ago who "was never having kids". | |
|
| | |
tonis56
Admin
Posts : 22
Join date : 2013-09-29
Age : 37
Location : Stoughotn
| | Subject: Re: My rustoration project Sun Nov 16, 2014 2:53 pm | |
| | |
|
| | |
Flicktitty
Admin

Posts : 1774
Join date : 2010-08-19
Age : 37
Location : Delavan
| | Subject: Re: My rustoration project Tue Nov 18, 2014 8:48 pm | |
| | |
|
| | |
tonis56
Admin
Posts : 22
Join date : 2013-09-29
Age : 37
Location : Stoughotn
| | Subject: Re: My rustoration project Sat Nov 22, 2014 8:03 pm | |
| Thanks Nick. Updated the 3rd post. | |
|
| | |
tonis56
Admin
Posts : 22
Join date : 2013-09-29
Age : 37
Location : Stoughotn
| | Subject: Re: My rustoration project Sun Nov 30, 2014 8:04 pm | |
| | |
|
| | |
tonis56
Admin
Posts : 22
Join date : 2013-09-29
Age : 37
Location : Stoughotn
| | Subject: Re: My rustoration project Thu Jan 29, 2015 8:44 pm | |
|
Last edited by tonis56 on Tue Feb 03, 2015 11:46 am; edited 1 time in total | |
|
| | |
600SX
Admin
Posts : 2514
Join date : 2010-08-19
Age : 43
Location : Twin Lakes
| | Subject: Re: My rustoration project Thu Jan 29, 2015 9:29 pm | |
| Looks like a lot of time. How much time do you think you have invested so far, and how much more do you think you have to go? | |
|
| | |
tonis56
Admin
Posts : 22
Join date : 2013-09-29
Age : 37
Location : Stoughotn
| | Subject: Re: My rustoration project Fri Jan 30, 2015 12:03 pm | |
| Pretty much every saturday I put at least 5-7 hours in to it. I would have to say that I have probably close to 100 hours already. Probably have close to that left. Im getting things done quicker as I am learning different techniques. I have also been spending time and $ on the motor. Found some detonation in cyl 1 and 4. The bill at the machine shop is growing by the day. | |
|
| | |
Flicktitty
Admin
Posts : 1774
Join date : 2010-08-19
Age : 37
Location : Delavan
| | Subject: Re: My rustoration project Tue Feb 03, 2015 11:41 am | |
| Awesome stuff bud. Looking forward to seeing it. | |
|
| | |
tonis56
Admin
Posts : 22
Join date : 2013-09-29
Age : 37
Location : Stoughotn
| | Subject: Re: My rustoration project Tue Feb 03, 2015 2:42 pm | |
| Thanks Nick. I started on the passenger side this past weekend. Almost have the frame rail extension plate (identical to the other side) removed. Im starting to realize that the time is flying and I still have a good amount of work to do.
TD | |
|
| | |
Sponsored content
| | Subject: Re: My rustoration project | |
| |
|
| | |
| | My rustoration project | |
|


